
How to Use Dry Herb Vaporiser Properly
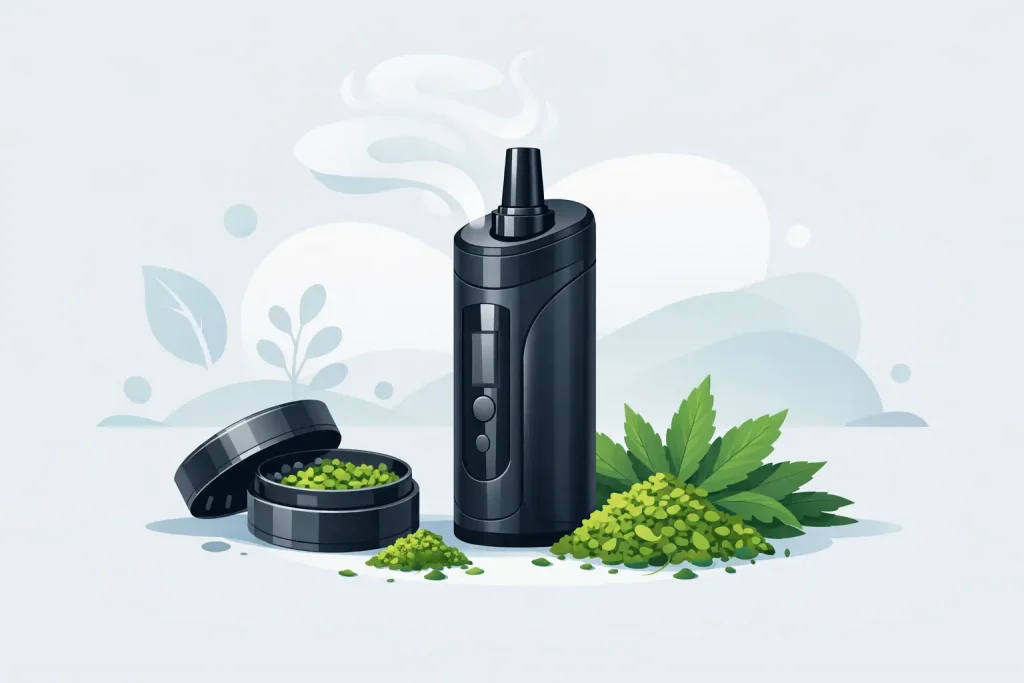
Bought a dry herb device and not getting much vapour from it? That usually comes down to setup, not the vapouriser itself. If you’re wondering how to use dry herb vapouriser devices properly, a few small changes in grind, pack, temperature and draw speed can make a big difference straight away.
How to use dry herb vapouriser without wasting material
The biggest mistake beginners make is treating a dry herb vapouriser like a pipe or roll-up. It works differently. You’re heating material to release vapour, not burning it, so the way you prepare and inhale matters more than many people expect.
Start with dry herb that’s properly cured and not too damp. If it’s too moist, it will struggle to produce decent vapour and the session can feel weak. If it’s too dry, it may heat too quickly and taste harsher earlier on. A medium, fluffy grind is usually the safest option for most portable devices. Herb that is ground too fine can restrict airflow, while large chunks heat unevenly.
Packing is the next part. Most dry herb chambers work best when filled evenly but not rammed tight. Think snug rather than compressed. Air still needs to move through the chamber. If you overpack, you’ll often get poor airflow and patchy extraction. If you underfill, some devices can still work well, but others may produce thin vapour unless you use a dosing capsule or chamber spacer if the model supports one.
Getting the setup right before your first session
Before using a new device, charge it fully if it’s battery powered. If it’s a butane model, make sure you’ve read the heating method and safety instructions that come with it. New devices can sometimes have a slight factory smell, so many users run one or two empty heat cycles before the first session.
Once the chamber is loaded, set your starting temperature. If your vapouriser has preset levels, begin in the lower to middle range rather than jumping straight to maximum. If it has precise controls, a common starting point is around 180C to 190C. Lower temperatures tend to give better flavour and a lighter effect, while higher temperatures usually produce denser vapour but can taste more roasted.
The heating style also changes how a device behaves. Conduction vapourisers heat the herb through contact with the oven walls, so pack and stir can matter more. Convection models push hot air through the herb, which often helps with even extraction but still benefits from a sensible grind and draw pace. Hybrid devices sit somewhere in the middle. You don’t need to get too technical, but it helps to know why one model may need a slower sip while another works better with a slightly firmer pull.
How to inhale from a dry herb vapouriser
This is where many sessions go wrong. A dry herb vapouriser is rarely designed for sharp, cigarette-style drags. In most cases, you’ll get better results with a slow, steady inhale lasting around 5 to 10 seconds. Think of it as sipping rather than snapping at it.
If you pull too hard, cool air can pass through the chamber too quickly and reduce vapour production. If you draw too softly on some devices, vapour can feel thin. There is a sweet spot, and it depends on the model. After a few sessions, you’ll feel it.
Don’t judge a session purely by huge visible clouds. Some devices are built more for flavour and efficiency than for thick vapour. Lower settings in particular can feel more subtle, especially if you’re new to dry herb vaping. What matters is consistent extraction, decent taste and an even finish to the material.
Finding the right temperature for better vapour
Temperature changes the whole session. Lower settings, roughly in the 175C to 185C range, are often chosen for flavour and lighter vapour. Mid-range settings around 185C to 195C usually balance flavour and cloud production well. Higher settings from 195C upwards can create fuller vapour and finish the chamber faster, but the taste may become more toasted and the vapour warmer.
A lot of users get the best results by stepping the temperature up through the session. Start lower for the first few draws, then increase gradually if vapour drops off. That approach often gives a fuller session without rushing straight to the hottest setting.
It also depends on your device and your preference. A portable unit with a small oven may perform best in a tighter range, while a desktop model can offer more consistent output across several temperatures. There isn’t one perfect number for everyone.
Stirring, session length and knowing when it’s done
Some vapourisers benefit from a quick stir halfway through the session, especially conduction-heavy models. This helps expose fresh surface area and can improve even heating. Other devices extract evenly enough that stirring barely matters. If your vapour drops suddenly while the chamber still looks partly green, a stir is worth trying.
Most sessions last anywhere from a few minutes to around 10 minutes, depending on the device, chamber size and temperature. You’re usually finished when the flavour fades, vapour becomes minimal and the material turns an even medium to dark brown. It should look toasted, not black and charred. If it looks burnt, the temperature was too high or the heat was applied too aggressively.
Try not to keep blasting an already-finished chamber just to chase one last draw. That’s where the taste usually turns poor and the experience drops off.
Common mistakes when learning how to use dry herb vapouriser devices
The most common issue is poor preparation. Herb that’s too wet, packed too tightly or ground too fine will make many devices feel disappointing. The next problem is going straight to maximum heat and expecting the best session there. Bigger clouds can sound appealing, but high temperatures often flatten flavour and can make the vapour harsher than it needs to be.
Another mistake is ignoring cleaning. Even a good vapouriser starts underperforming when the screen, mouthpiece or airway gets clogged with residue. Restricted airflow means thinner vapour, tighter draws and less enjoyable sessions. If performance has dropped off, cleaning often fixes more than people expect.
Finally, some buyers expect every device to hit the same way. A slim portable built for convenience will not behave exactly like a larger desktop unit. That’s not a fault. It just means you may need to adjust expectations and technique to the product you’ve got.
Cleaning and maintenance matter more than people think
If you want reliable vapour and better flavour, keep the chamber and airway clean. Brush out the oven after each session once the unit has cooled enough to handle safely. Regular light cleaning is easier than letting residue build up over weeks.
For deeper cleaning, many mouthpieces, screens and removable parts can be cleaned according to the manufacturer’s instructions. Always check what your specific device allows before using any cleaning method. Some parts are more delicate than they look, and soaking the wrong component can cause problems.
Battery care matters too. Recharge before the battery is completely flat if your manual recommends it, and use the charger intended for the device. If you’re shopping across portable units, desktop options, grinders, storage and replacement accessories, getting everything in one order saves time and often costs less, which is exactly why broad-range retailers such as Easy Vapes appeal to deal-focused buyers.
Choosing a style that matches how you use it
Learning how to use dry herb vapouriser products properly is easier when you’ve got the right type of kit. Portable vapourisers suit users who want convenience, quick sessions and easy storage. Desktop models are better for home use and often offer stronger consistency, larger capacity and less concern about battery life. Torch-heated options can be very effective too, but they involve a bit more technique and are less plug-and-play for beginners.
If you’re buying your first unit, simple controls usually beat extra features. Clear temperature settings, easy chamber access and straightforward cleaning make the learning curve much easier. Experienced users may want more control, but not everyone needs that on day one.
A better session usually comes down to small adjustments
If your first attempt felt underwhelming, don’t write off the device too quickly. Change one thing at a time. Try a fluffier grind, a looser pack, a slightly higher temperature or a slower draw. Those small tweaks often turn a weak session into a good one.
The best approach is practical rather than complicated. Use dry, well-ground herb, pack the chamber evenly, start at a sensible temperature and inhale slowly. Keep the device clean, pay attention to airflow, and learn how your model responds. Once that clicks, using a dry herb vapouriser feels far more straightforward – and a lot more worth it.