
How to Clean Vape Tank Without Ruining It
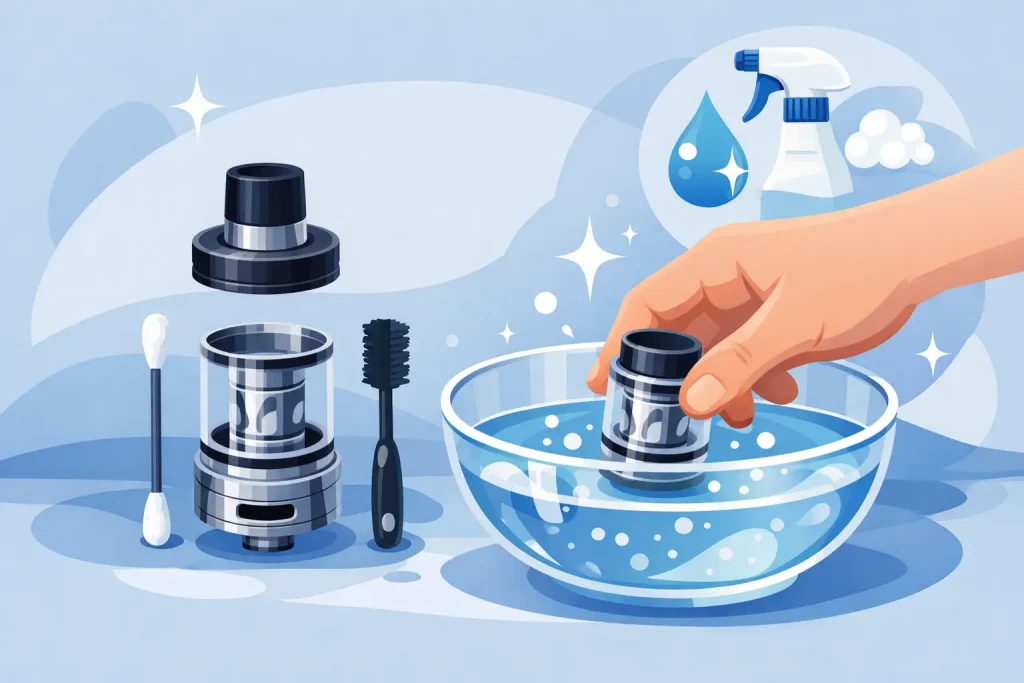
A tank that suddenly tastes muted, sweet in the wrong way, or oddly like your last e-liquid usually needs more than a fresh puff. Knowing how to clean vape tank parts properly helps clear lingering flavour, keeps airflow working as it should and makes switching e-liquids far less frustrating.
Cleaning is quick, but the right method depends on what you are washing. Glass, metal sections and removable mouthpieces can usually be cleaned with water. A fitted coil is different: most pre-made coils are consumable parts, so soaking them is rarely a reliable fix. Treating every part the same can leave you with a flooded tank, weak flavour or a coil that needs replacing anyway.
When should you clean a vape tank?
A basic rinse is worth doing whenever you change between very different flavours, especially from menthol, tobacco, coffee or a heavily sweetened e-liquid to something lighter. It is also sensible to clean the tank when you replace the coil, notice e-liquid residue around the base, or see condensation collecting in the chimney.
You do not need to strip and wash your kit every day. For many adult vapers, cleaning the tank at each coil change is a practical routine. If you use one flavour continuously and your device is performing well, a wipe around the connection and mouthpiece may be all that is needed between refills.
What you need to clean a vape tank
Keep it simple. Warm water, kitchen roll or a clean lint-free cloth, cotton buds and a dry, clean space are enough for most tanks. A small bowl is useful for holding parts so that seals and tiny pieces do not disappear down the sink.
Avoid washing-up liquid, bleach, household sprays and strongly scented cleaners. Even a small amount left behind can make the next tankful taste unpleasant. Do not put a vape tank in a dishwasher, and do not use boiling water. Very hot water can affect seals, warp some plastic components and create unnecessary risk with delicate glass.
How to clean vape tank parts step by step
Empty the remaining e-liquid
First, remove the tank from the battery or vape mod. Empty any remaining e-liquid into suitable waste rather than pouring it into a sink or drain. E-liquid can be harmful if swallowed, so keep it away from children and pets and clean spills straight away.
If the coil is old, burnt, darkened or already giving poor flavour, remove it now and dispose of it responsibly. There is little value in cleaning a tank only to reinstall a coil that is at the end of its life.
Take the tank apart carefully
Unscrew the base, remove the glass section if your model allows it, and take off the drip tip or mouthpiece. Set every part down in the order you removed it. This makes reassembly easier, particularly on tanks with separate airflow rings, gaskets or top-fill seals.
Do not force anything. Sticky e-liquid can make threads feel tight, but twisting too hard can damage glass or cross-thread the tank when you put it back together. A gentle wipe with kitchen roll around the joins often gives you the grip you need.
Rinse the non-electrical parts in warm water
Rinse the glass, metal tank sections, mouthpiece and removable seals under warm running water. Turn the parts as you rinse them so water passes through the chimney and airflow openings. If residue is stubborn, leave the non-electrical parts in a bowl of warm water for five to ten minutes, then rinse again.
For strong flavours, repeat the rinse rather than reaching for soap. A second rinse is usually enough to remove the scent of a previous e-liquid without leaving a cleaner’s taste behind.
Clean threads and airflow holes
Use a cotton bud or a corner of a lint-free cloth to wipe the threads, the base and the airflow ports. This is where condensed e-liquid commonly sits. A clogged airflow opening can make a normally smooth draw feel tight, while residue on the threads can stop the tank sitting flush on the device.
Keep water away from the battery, mod and charging port. If e-liquid has reached the device connection, wipe it with dry kitchen roll only. Never rinse the electrical section of your vape kit under a tap.
Let every part dry fully
Dry the tank sections with kitchen roll, then leave them on a clean towel until no visible water remains. The chimney, seals and threads need time to air-dry too. Rebuilding a wet tank can dilute the first refill and may cause gurgling or spitting.
If you are in a hurry, use a dry cloth and gently shake excess water from each part. Do not use a hairdryer at high heat and do not place components on a radiator. Heat can damage O-rings, plastic tanks and insulation.
Fit a fresh coil and reassemble
Install a replacement coil that is compatible with your exact tank. Check that seals sit flat and that each threaded section is secure but not overtightened. Fill the tank with e-liquid, then leave it standing for around five to ten minutes so a new coil can absorb the liquid properly.
That waiting time matters. Vaping immediately after fitting a dry coil can burn the cotton inside, and no amount of tank cleaning will remove that scorched taste. Start with a few gentle puffs and make sure the airflow and wattage suit the coil you have fitted.
Can you wash a vape coil?
It depends on the coil type. Most standard pre-made replacement coils contain cotton wicking, which absorbs old flavour and sweetener as it is used. Rinsing may make the coil look cleaner, but it does not restore worn cotton or remove a burnt taste. In many cases, fitting a new coil is the better value choice because it gives you dependable flavour straight away.
Rebuildable atomisers are different. If you use a rebuildable tank with a removable wick, the coil itself can often be cleaned and dry-burned carefully before fitting fresh cotton. That process is for experienced users who understand battery safety and their specific hardware. It is not suitable for sealed disposable-style coils.
Common mistakes that make a tank taste worse
The most common mistake is reassembling too quickly. Hidden water in the chimney or beneath a seal can create bubbling, spitback and thin flavour. Give the tank time to dry, especially after a full rinse.
Another is using a new coil without priming it. Fill the tank, wait for the wick to saturate and begin at the lower end of the coil’s recommended wattage range. Taking repeated hard puffs before the wick catches up can also lead to a dry hit.
Finally, do not assume cleaning will solve every issue. A leaking tank may need a new seal, a cracked glass section, a correctly seated coil or a less worn-out replacement part. If the tank continues to leak after cleaning, inspect each component before simply adding more e-liquid.
Recommended Products
For an easier maintenance routine, keep a few essentials ready with your usual e-liquid order. Easy Vapes stocks practical options across its vaping range, so you can replace worn parts rather than trying to rescue a tired coil.
- A compatible replacement coil for your existing vape tank, matched by brand, model and resistance.
- A spare vape tank glass section if your current glass is chipped, cracked or difficult to clean.
- A suitable drip tip or replacement mouthpiece for a cleaner, more comfortable draw.
- Fresh e-liquid in your preferred flavour, ready to fill once the tank is dry and a new coil is primed.
Check the product description and compatibility details before ordering. Coils that look similar are not always interchangeable, and choosing the correct part saves wasted liquid and unnecessary returns.
FAQ
How often should I clean my vape tank?
Clean it whenever you change coils or switch between strongly different flavours. A quick wipe of the mouthpiece, base and connection can be done more often if you notice condensation or residue.
Why does my vape tank still taste burnt after cleaning?
The burnt taste is usually coming from the coil’s cotton rather than the tank itself. Replace the coil, prime the new one with e-liquid and allow it to sit before vaping.
Can I use rubbing alcohol to clean a vape tank?
It is best to stick with warm water for routine cleaning. Alcohol can affect some seals and must be fully removed before the tank is used again. For ordinary e-liquid residue, warm water and proper drying are safer and simpler.
Why is my tank gurgling after I cleaned it?
There may be water or excess e-liquid in the chimney, or the coil may not be seated correctly. Remove the tank from the device, wipe the base and connection, check the coil and allow the tank to dry further if needed.
A clean tank will not make an exhausted coil new again, but it does give every fresh coil and refill the best chance to perform properly. Keep the routine simple, use compatible replacement parts and let the tank dry fully before your next vape.