
How to Replace a Damaged Vape Pod Safely
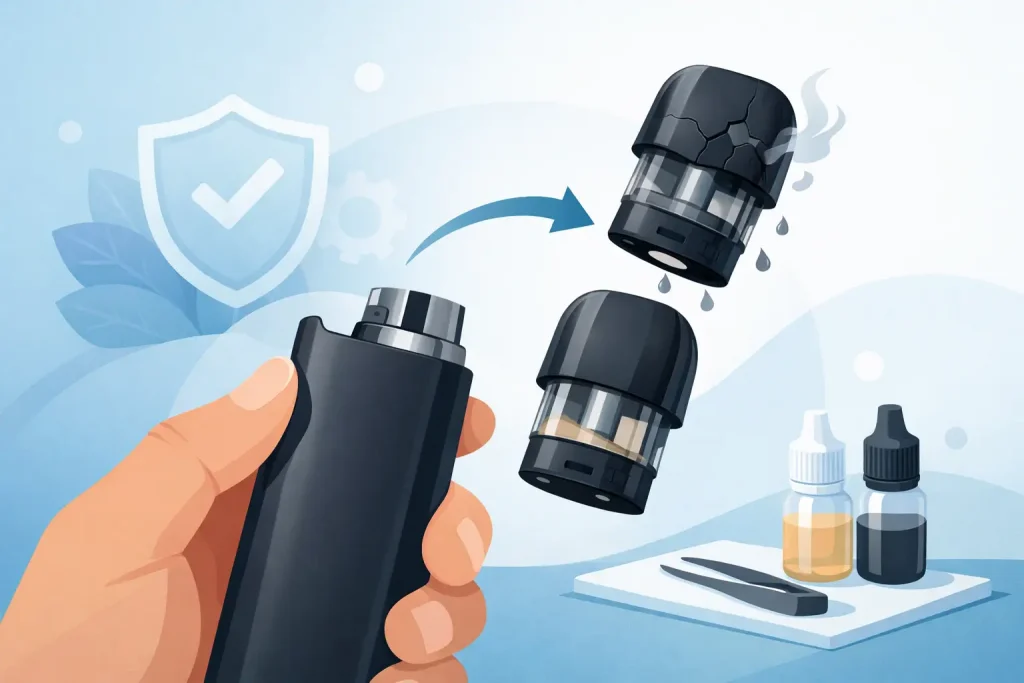
A cracked pod, a persistent leak or a suddenly burnt flavour is not something to vape through. Knowing when to replace a damaged vape pod protects your device, saves e-liquid and helps you get back to a clean, consistent vape without the mess. In most cases, swapping a pod takes less than a minute – but choosing the right replacement and checking the device first makes all the difference.
Signs Your Vape Pod Needs Replacing
Not every issue means the pod is beyond use. Condensation around the mouthpiece, for example, is common and can usually be wiped away with a tissue. But visible damage or repeated performance problems are a different story.
Replace the pod if you can see a crack, split, warped plastic or a loose mouthpiece. Even a small fracture can let e-liquid seep into the pod chamber and electrical contacts. That can cause gurgling, weak vapour, misfiring or an error message on some pod kits.
A burnt taste is another common reason to change it. If your pod has a built-in coil, the coil cannot be replaced separately. Once the wick has scorched, a fresh pod is normally the practical fix. Continuing to use it will not improve the flavour and may make the taste harsher with every puff.
You should also fit a new pod if it leaks again after cleaning, no longer clicks securely into the device, or produces very little vapour despite being charged and filled correctly. A pod that feels loose can lose contact with the battery terminals, so do not force it into place.
Before You Replace a Damaged Vape Pod
First, remove the pod from the battery section and turn the device off if it has an on/off function. Place it upright on a tissue, especially if it is leaking. Avoid getting e-liquid on the charging port or inside the device.
Check the metal contacts on both the pod and the device. A little condensation can prevent a proper connection, but it is easy to remove. Use dry tissue or a cotton bud to gently clean the contact points. Do not rinse the battery section, use sharp objects or try to scrape at the contacts.
If there is e-liquid inside the device itself, clean what you can reach with a dry tissue and leave it to air dry fully. If liquid has entered deeply, if the device gets unusually hot, or if the battery looks swollen or damaged, stop using it. A replacement pod will not solve a battery fault.
It is also worth checking that the problem is genuinely the pod. A flat battery, blocked airflow or an empty e-liquid chamber can all make a vape seem faulty. Taking a few seconds to rule these out prevents an unnecessary replacement.
How to Replace a Damaged Vape Pod
The exact fitting method depends on your kit. Many pods pull straight out, while others use a magnetic connection or need a slight push to release. Never twist or yank a pod if it feels stuck. Check your kit instructions for the intended removal method.
Once the old pod is out, inspect the pod bay for liquid and wipe it dry. Then take the new pod from its packaging and remove any silicone caps, stickers or protective seals. These are easy to miss and can block airflow or prevent the pod from sitting properly.
If you are using a refillable pod, open the fill port and add e-liquid slowly. Do not overfill it. Leave a small air gap at the top, then close the stopper firmly. Keep e-liquid away from the central airflow tube, as filling into this section can cause immediate flooding and spitting.
After filling, leave a new pod to stand for around five to ten minutes before vaping. This gives the cotton wick time to absorb e-liquid. Skipping this step is one of the quickest ways to burn a new built-in coil before it has had a fair chance.
Fit the pod squarely into the device and make sure it sits flush. If your kit uses magnets, you should feel it settle into place. Take a gentle first puff rather than a long draw. If the flavour is clean and the vapour feels normal, you are ready to go.
If the New Pod Is Not Working
Start with the simple checks. Confirm the pod is compatible with your exact vape kit, not just the same brand. Pod ranges can look very similar while using different connections, capacities or coil resistances.
Next, make sure the battery is charged and the contacts are dry. Remove and refit the pod once, without forcing it. If the new pod still does not work, try another compatible pod if you have one. This can help show whether the issue is the pod or the device.
A damaged battery unit, persistent error light or failure to recognise multiple new pods points to a device issue rather than a pod issue. Stop using the kit if it becomes hot, smells unusual or shows signs of battery damage.
Choosing the Right Replacement Pod
The best replacement is the one made for your specific device. Check the name printed on the pod, the box from your kit or the manufacturer details before ordering. Buying by appearance alone is risky, particularly where a brand has several pod systems in its range.
You should also consider the coil style built into the pod. Lower-resistance pods generally provide a warmer, airier vape and use more e-liquid, while higher-resistance options tend to suit a tighter mouth-to-lung draw. Neither is automatically better. It depends on how you like to vape, the e-liquid you use and the capability of your device.
For a simple, everyday set-up, keeping spare compatible pods at home is usually better value than waiting until your only one fails. Pods are consumable items, particularly with sweet e-liquids that can shorten coil life by leaving residue on the wick.
Preventing Damage and Leaks Next Time
Pods wear out, but a few habits can make each one last longer. Carry your vape upright where possible, particularly in a pocket or bag. Heat can thin e-liquid and increase the chance of leaking, so do not leave a filled device on a sunny windowsill or in a hot car.
Use the right e-liquid for your pod kit. Very thick liquids may struggle to wick in compact pods, while very thin liquids can leak more easily from devices designed for thicker blends. If you are unsure, check the pod or kit guidance before filling.
Do not chain vape a newly filled pod. A few seconds between puffs gives the wick time to draw in more e-liquid. Keep the tank above the minimum fill line too, as letting it run nearly dry can scorch the cotton and lead to that familiar burnt flavour.
Finally, wipe the pod base and device contacts regularly. This takes moments and helps prevent condensation becoming a connection problem. Clean gear also makes it much easier to spot a genuine leak before it reaches the battery compartment.
Recommended Products
When replacing a pod, shop by compatibility first. Easy Vapes stocks replacement vape pods for popular pod kit formats, alongside e-liquids and practical vape accessories for keeping your set-up ready to use. Add a spare pack of compatible pods to your basket rather than relying on one pod until it fails.
For refillable devices, choose e-liquid that suits the style of pod you use. Nicotine salts are often selected for compact mouth-to-lung pod kits, while freebase e-liquid can suit devices designed for a more open draw. Check your device guidance and choose a nicotine strength that matches your usual use.
A small protective case can also be a sensible add-on if your pod has been damaged in a pocket, bag or car. It will not stop normal wear, but it can reduce knocks, pressure and accidental contact with keys or loose change.
Frequently Asked Questions
Can I vape with a cracked pod?
No. Replace it. A cracked pod can leak e-liquid into the device and may become less secure during use. Even if it still produces vapour, it is not worth risking damage to the battery section.
Why does my new pod taste burnt straight away?
The most likely cause is insufficient priming. After filling a new refillable pod, wait five to ten minutes before vaping. Also check that there is enough e-liquid in the pod and avoid long, repeated draws before the wick has fully saturated.
Can I wash a vape pod to fix a leak?
Washing is not a reliable solution for a damaged or leaking pod, and water can create more problems if the pod is not dried completely. Wipe away condensation and e-liquid from the outside, but replace a cracked, warped or repeatedly leaking pod.
How long should a vape pod last?
It depends on the pod, the e-liquid and how often you vape. A built-in-coil pod may last from several days to a couple of weeks. Replace it earlier if flavour drops off, vapour becomes weak, it leaks repeatedly or the taste turns burnt.
A fresh, correctly fitted pod is one of the quickest ways to make a pod kit feel right again. Keep a compatible spare on hand, fill it carefully and treat leaks or visible cracks as a prompt to change it rather than a problem to put off.